
OUT OF THIN AIR Inexpensive Atmospheric Water Collection System
Discover how to create a low-maintenance and resource-efficient water catchment system with an atmospheric water collector. Learn the steps to implement an inexpensive water collection solution for your needs.
C. Colson
5/7/20264 min read
Out of thin air
DIY atmospheric water harvesters, often called
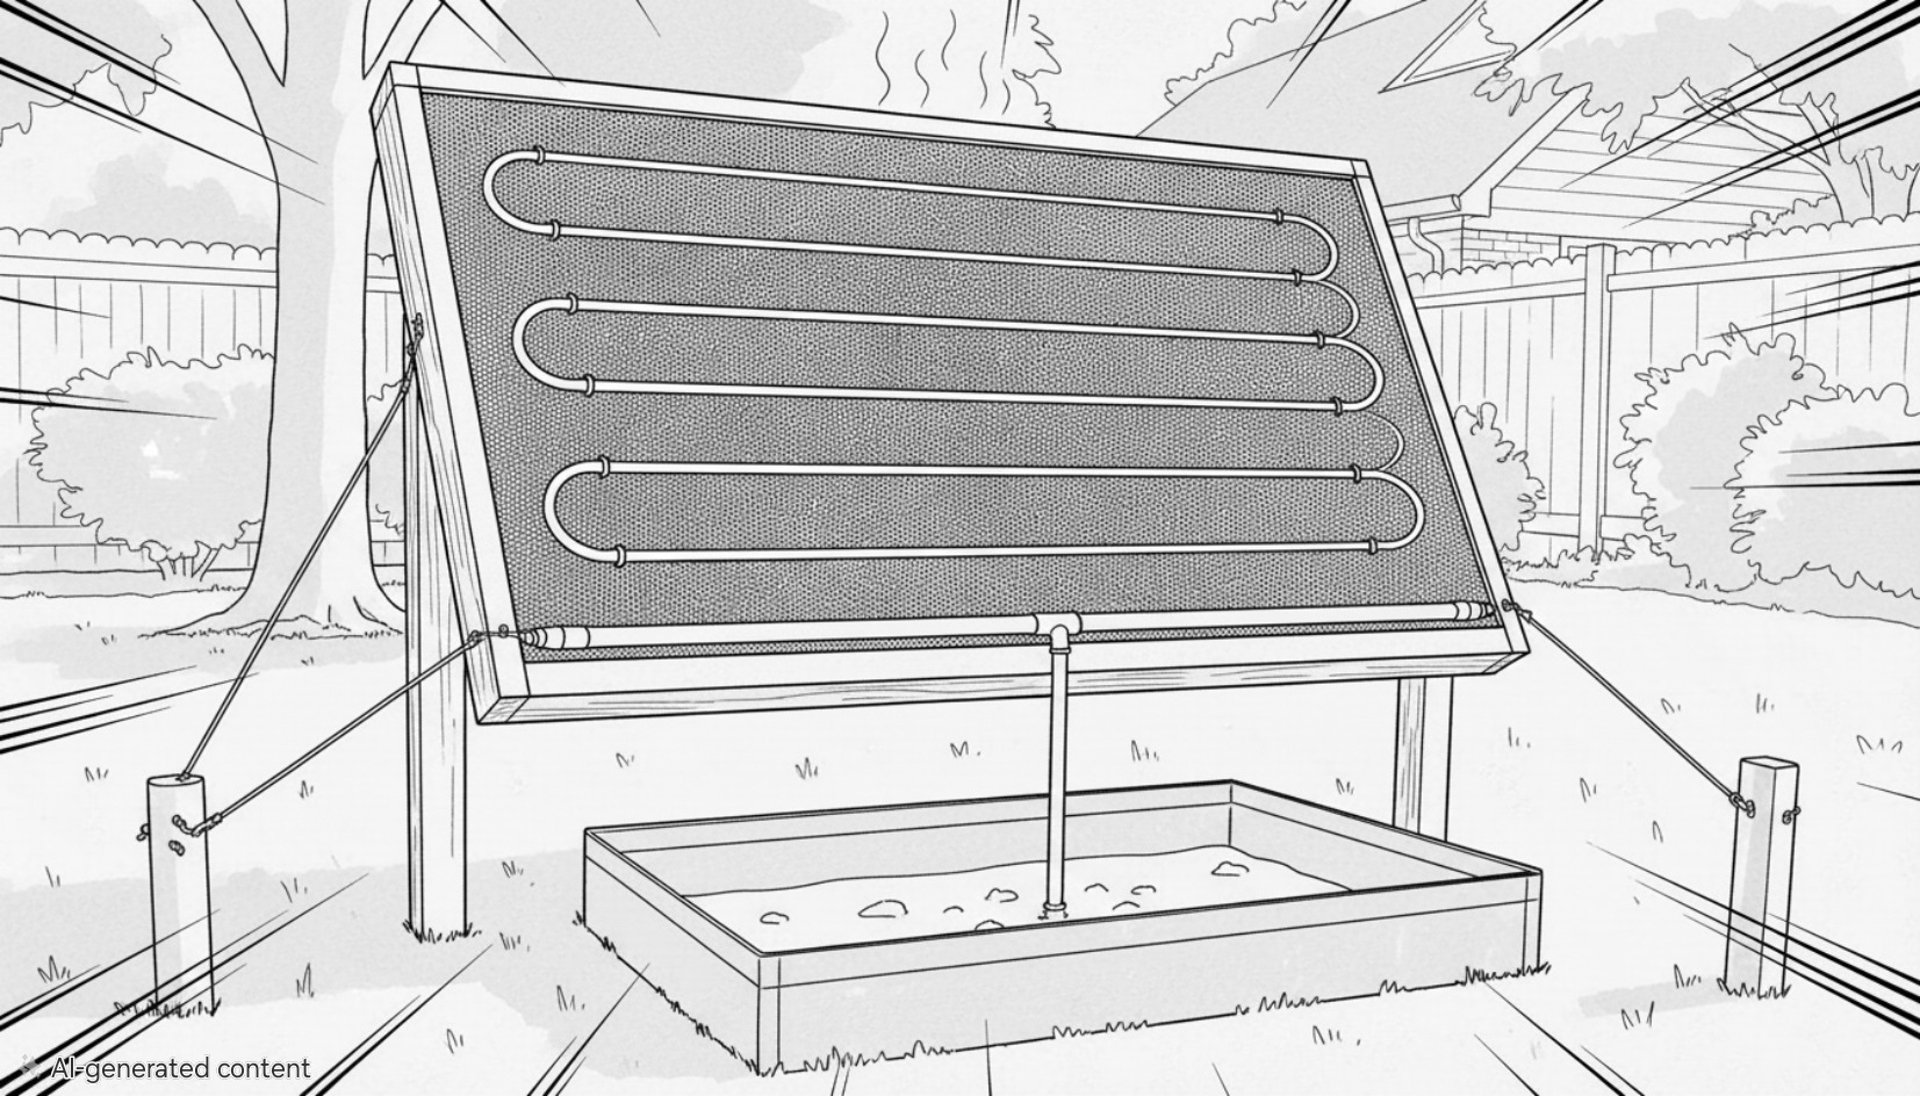
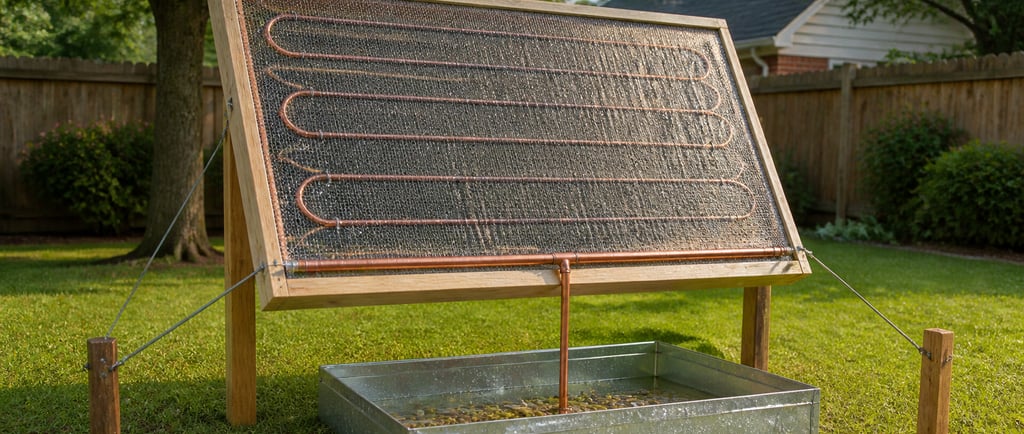
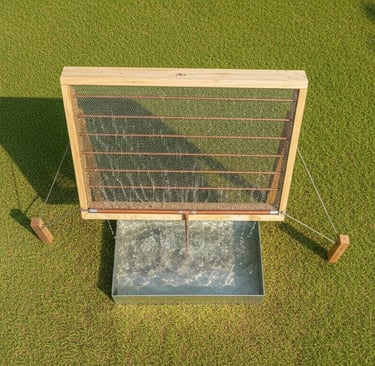
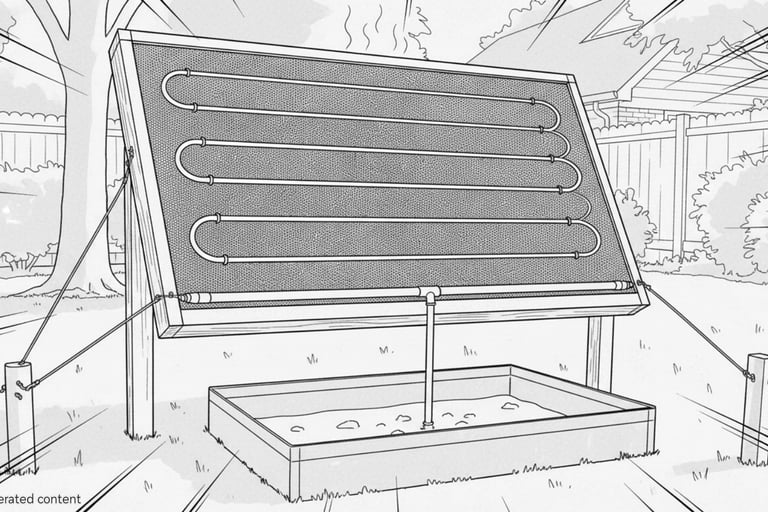
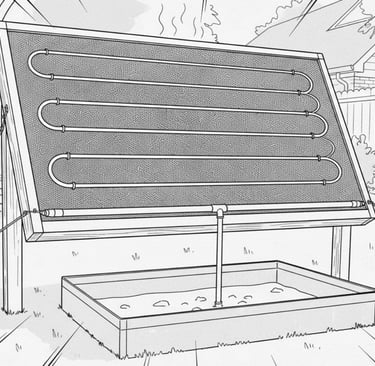
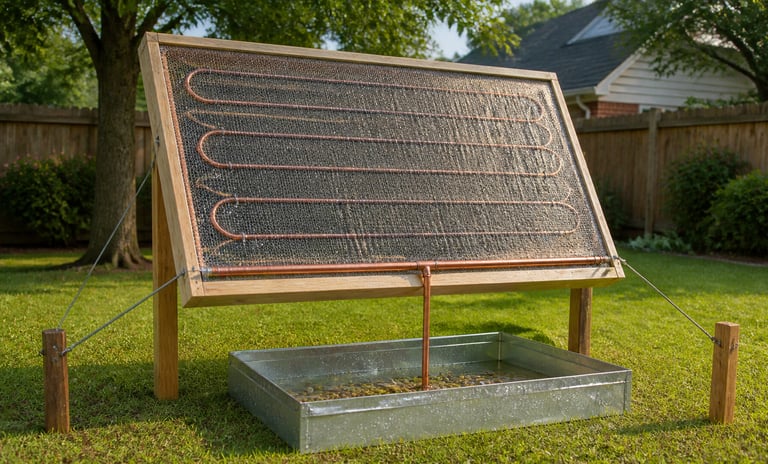
Fog collectors capture water vapor from the air using mesh that cools and condenses moisture, directing it to a collection basin. This passive design relies on wind, temperature differences, and gravity—no electricity needed—making it yard-friendly with durable, safe materials like your specified stainless steel mesh, copper pipes, and aluminum catch basin. Biodegradable elements (e.g., natural wood frames, hemp ropes) ensure eco-safety. Materials List Stainless steel mesh:4 ft x 6 ft sheet (fine 0.2-0.5 mm holes for droplet capture; food-grade 304 stainless for rust resistance and safety). Copper pipes: 20 ft of 1/2-inch diameter tubing (for condensation coils and drainage; naturally antimicrobial). Aluminum catch basin: 2 ft x 2 ft x 6-inch deep tray (lightweight, corrosion-resistant; pre-drilled for drainage). Wood frame materials (biodegradable): 2x4 untreated pine lumber (4 pieces, 6 ft each) or bamboo poles; secured with natural hemp rope or wooden dowels.
Additional safe items: Silicone sealant (food-safe, non-toxic), zip ties or wooden clamps, gravel or sand (for basin leveling), 1/2-inch PVC or copper fittings (2-4 elbows/connectors), fine sandpaper.
Tools: Saw, drill, measuring tape, level—total cost under $150.
Step-by-Step Construction
Build the frame: Cut wood into two 6-ft verticals and two 4-ft horizontals. Assemble a rectangle (4 ft wide x 6 ft tall) using rope lashings or dowels at corners for biodegradability.
Ensure taut tension like a drum skin.
Install mesh: Stretch stainless steel mesh tightly across one side of the frame. Secure edges with zip ties or clamps every 6 inches; trim excess.
This faces the prevailing wind to maximize airflow.
Add condensation coils: Coil copper pipe around the frame's shaded side (10-15 loops per pipe section). Connect pipes in series with fittings to form a serpentine path for cooling air via ground contact or night chill.
Mount catch basin: Tilt frame 15-30° toward basin (prop with wood stakes). Position the aluminum basin below the lower mesh edge; drill a 1/2-inch hole in the basin lip for the copper drain pipe from the mesh bottom.
Seal joints with silicone.
Plumb drainage: Route copper pipe from mesh (sloped downward) into the basin center.
Add a gravel layer in the basin for filtering debris; elevate on bricks for yard drainage.
Site and test: Place in yard spot with
wind/humidity (e.g., 50%+ RH ideal), 1-2 ft off
Ground, perpendicular to breeze. Test overnight:
expect 0.5-2 liters/day per sq m in humid areas
Safety:
All materials are non-toxic; avoid plastics for
(non-degradable safe)
preference—stainless/copper/aluminum lasts 20+ years outdoors .
Water Harvester:
DIY Atmospheric Water Harvester Materials List
Stainless steel mesh, 4 ft x 6 ft sheet, 304 food-
grade, 0.2-0.5 mm openings
Copper pipes, 20 ft of 1/2-inch tubing
1/2-inch copper elbows/connectors, 4
Aluminum catch basin, 2 ft x 2 ft x 6-inch deep
Untreated pine 2x4 lumber or bamboo poles, 4
pieces, 6 ft each
Hemp rope or wooden dowels
Food-safe silicone sealant
Zip ties or wooden clamps
Gravel or sand, 10 lbs
Wooden stakes
Tools
Saw
Drill
Measuring tape
Level
Step-by-Step Build Process
Choose the location:
Pick a spot in your yard with steady airflow and good humidity exposure (open area, not blocked by trees or buildings). The position should face the prevailing wind.
Measure and cut the frame Cut your wood or bamboo into:
Two vertical pieces (6 ft)
Two horizontal pieces (4 ft)
Lightly sand edges to prevent splitting.
Assemble the frame
Join the pieces into a rectangle using hemp rope
lashings or wooden dowels. Keep it tight and
square so the mesh won’t sag.
Mount and tension the mesh
Lay the stainless steel mesh across one side of
the frame.
Secure it every 4–6 inches using zip ties or
clamps.
Pull it tight—this is critical for proper condensation
Angle the frame
Tilt the frame back about 15–30 degrees.
This allows condensed water droplets to run
downward instead of dripping randomly.
Install the copper collection line
Attach a horizontal copper pipe along the bottom
edge of the mesh.
Slightly slope it toward one side so water naturally flows to the outlet.
Add copper cooling coils (optional but recommended)
Wind additional copper tubing in loops behind the
mesh (shaded side).
This helps cool air and improves condensation efficiency.
Connect the drainage pipe
Attach a downward copper pipe from the
collection line outlet.
This pipe will carry water into your basin.
Prepare the catch basin
Place the aluminum basin directly below the drain pipe.
Add a thin layer of gravel or sand inside to catch debris and stabilize flow.
Secure the structure
Drive wooden stakes into the ground and tie the frame in place.
Make sure it can handle wind without tipping.
Seal critical joints. Use food-safe silicone sealant on:
Pipe connections
Basin entry point
This prevents leaks and contamination.
Test the system
Run a test by pouring a small amount of water across the mesh.
Check the flow path, leaks, and drainage into the
basin.
Monitor first overnight cycle
Leave it overnight and check the water collection in the morning.
Adjust angle or pipe slope if needed.
Maintain regularly
Rinse mesh weekly or monthly, depending on dust/pollen. Inspect pipes and the basin for buildup.
Simple Flow Overview (Mental Diagram)
Airflow → Mesh → Droplets form → Drip to
bottom pipe → Flow through copper pipe → Into
aluminum basin
(Prevailing Wind Direction)
→
│
▼
Basin
Frame Tilt: 15°–30°
Wooden Stakes
Catch Basin
Social Media
SOCIAL MEDIA
© 2026. All rights reserved. SEEDBANK369
Instagram-YouTube-Blue Sky
SEEDBANK 369 POLICY INFO